Hello everyone! I'm so happy to be posting on my blog again and I'll be posting something new every Saturday! This week's post is going to be showing you how to make this great card with some really simple techniques. Hope you enjoy!

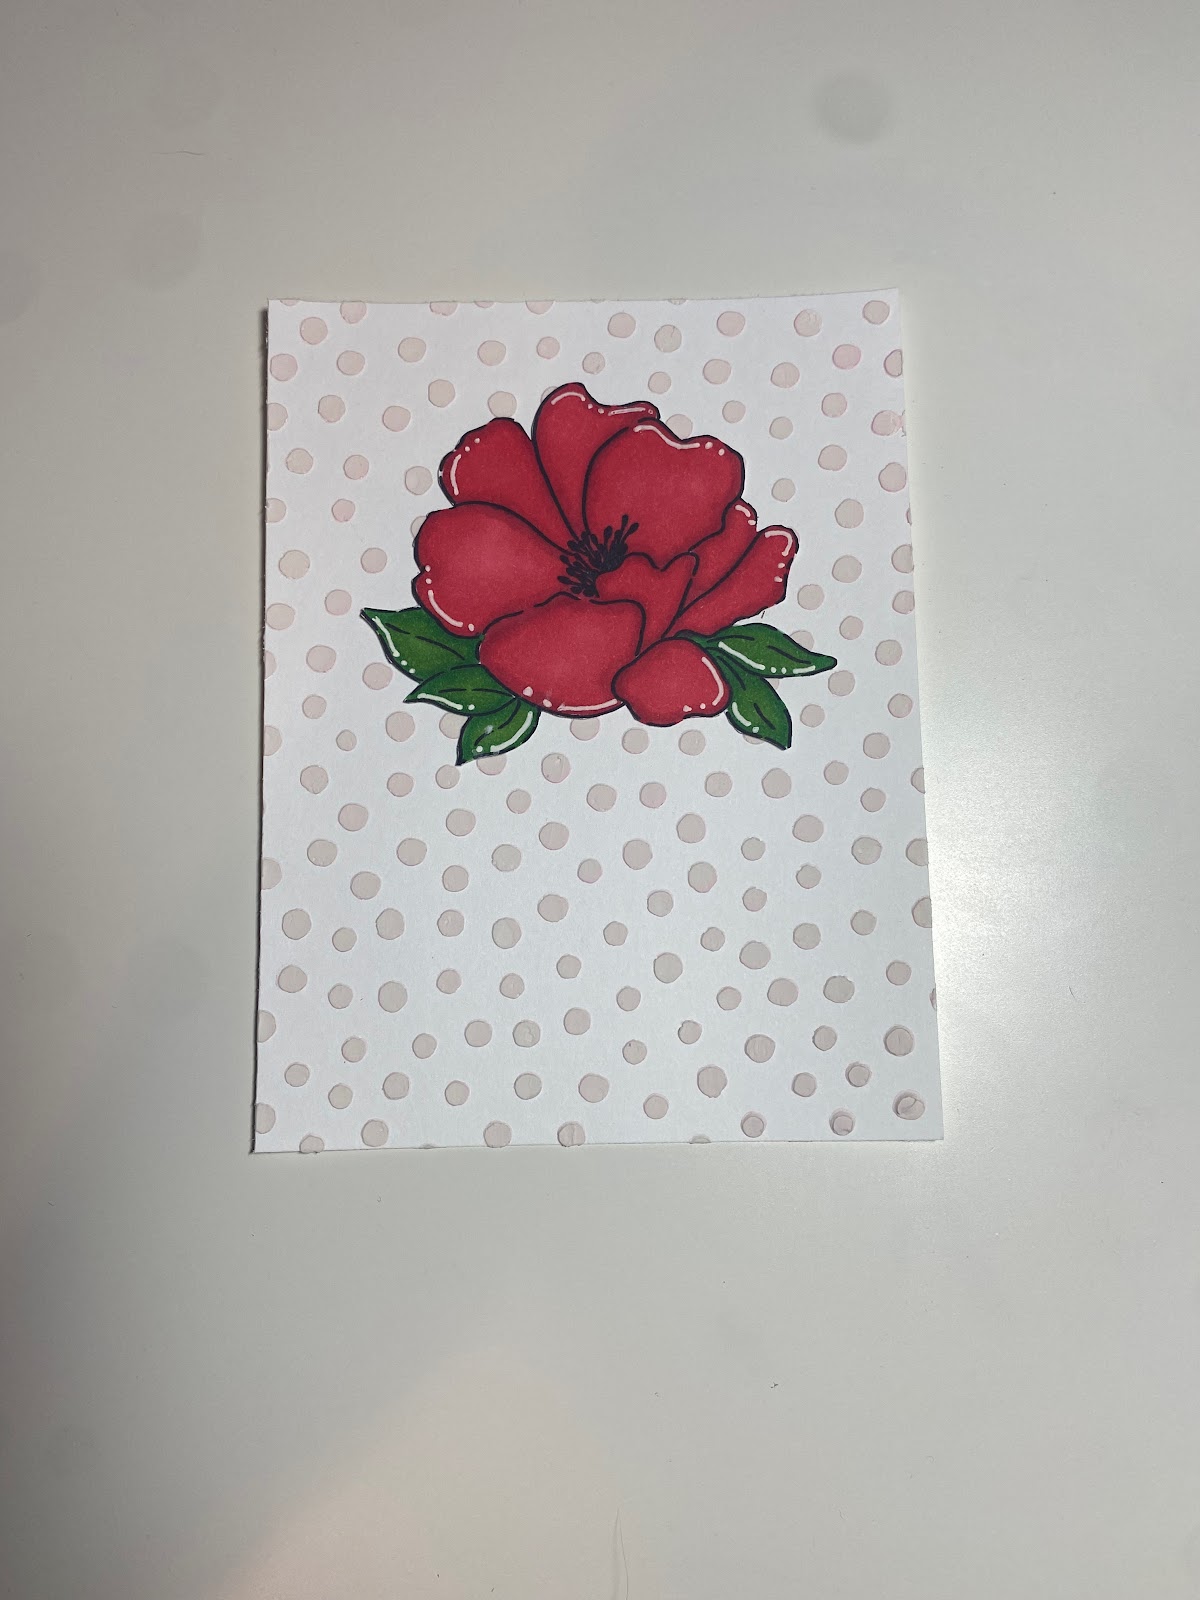
While you could use a simple 4 x 5 1/4 white card stock background, I wanted to make it a little more interesting and added some texture. I used a stencil with little circles and some nuvo chalk mousse. There is a plethora of pastes, mousses, and sprays you could use but I just went with this one! I'll link all the materials down below to some of my favorite stores. Also, if your stencil is stained like mine don't worry about it! It shouldn't affect your outcome! 


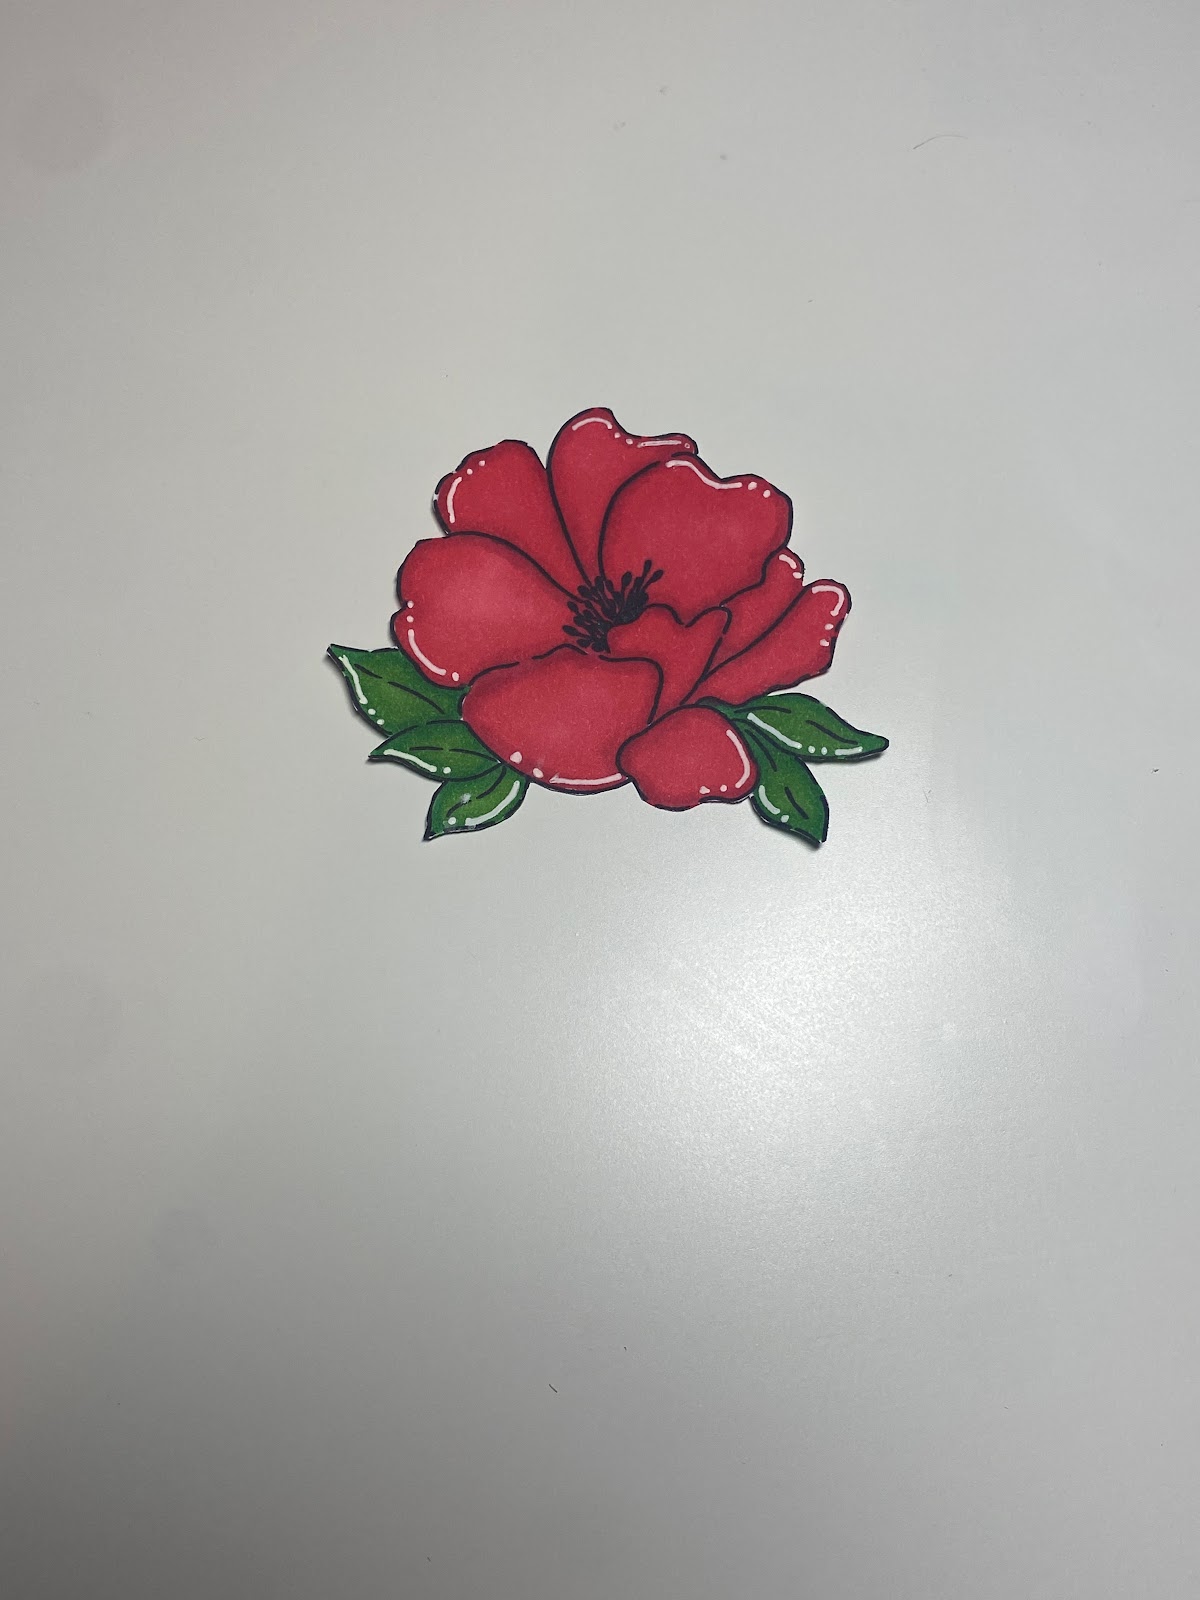
After you apply the mousse through the stencil, remove the stencil and allow the mousse to dry. Now we can start working on the flower! I'm using a set from Ink on 3 but you can use any flower stamp you like.
Take your stamp and ink it up, then stamp it onto your paper!
I will be using copic markers to color in my flower, but use whatever alcohol markers (or any other coloring medium like watercolor) to color in your flowers! Just make sure the ink your using is compatible. I'm personally using the Tim Holtz distress ink in the color black soot. I always do the darker shade on the outside of the petal or leaf and the lighter color in the middle, but if you have another way of doing it I say go for it! 
Once you complete coloring, take a white jelly roll pen and add some accents to the flower. There is absolutely no method to my madness, I just add the little lines and dots wherever I feel like on the edges!Now that we've completed the flower let's glue the flower onto the dried background!
We need to decide on a sentiment now. I will be using this "Happy Anniversary" stamp from hero arts, but use whatever sentiment you desire. I will be embossing it with white embossing powder on black paper to really make it pop!


After the sentiment is completed, fussy cut it out. Or if you have the die cut for it use that! You could also just leave the sentiment on the rectangle but I personally prefer the fussy cut look! Then glue it to your card background!
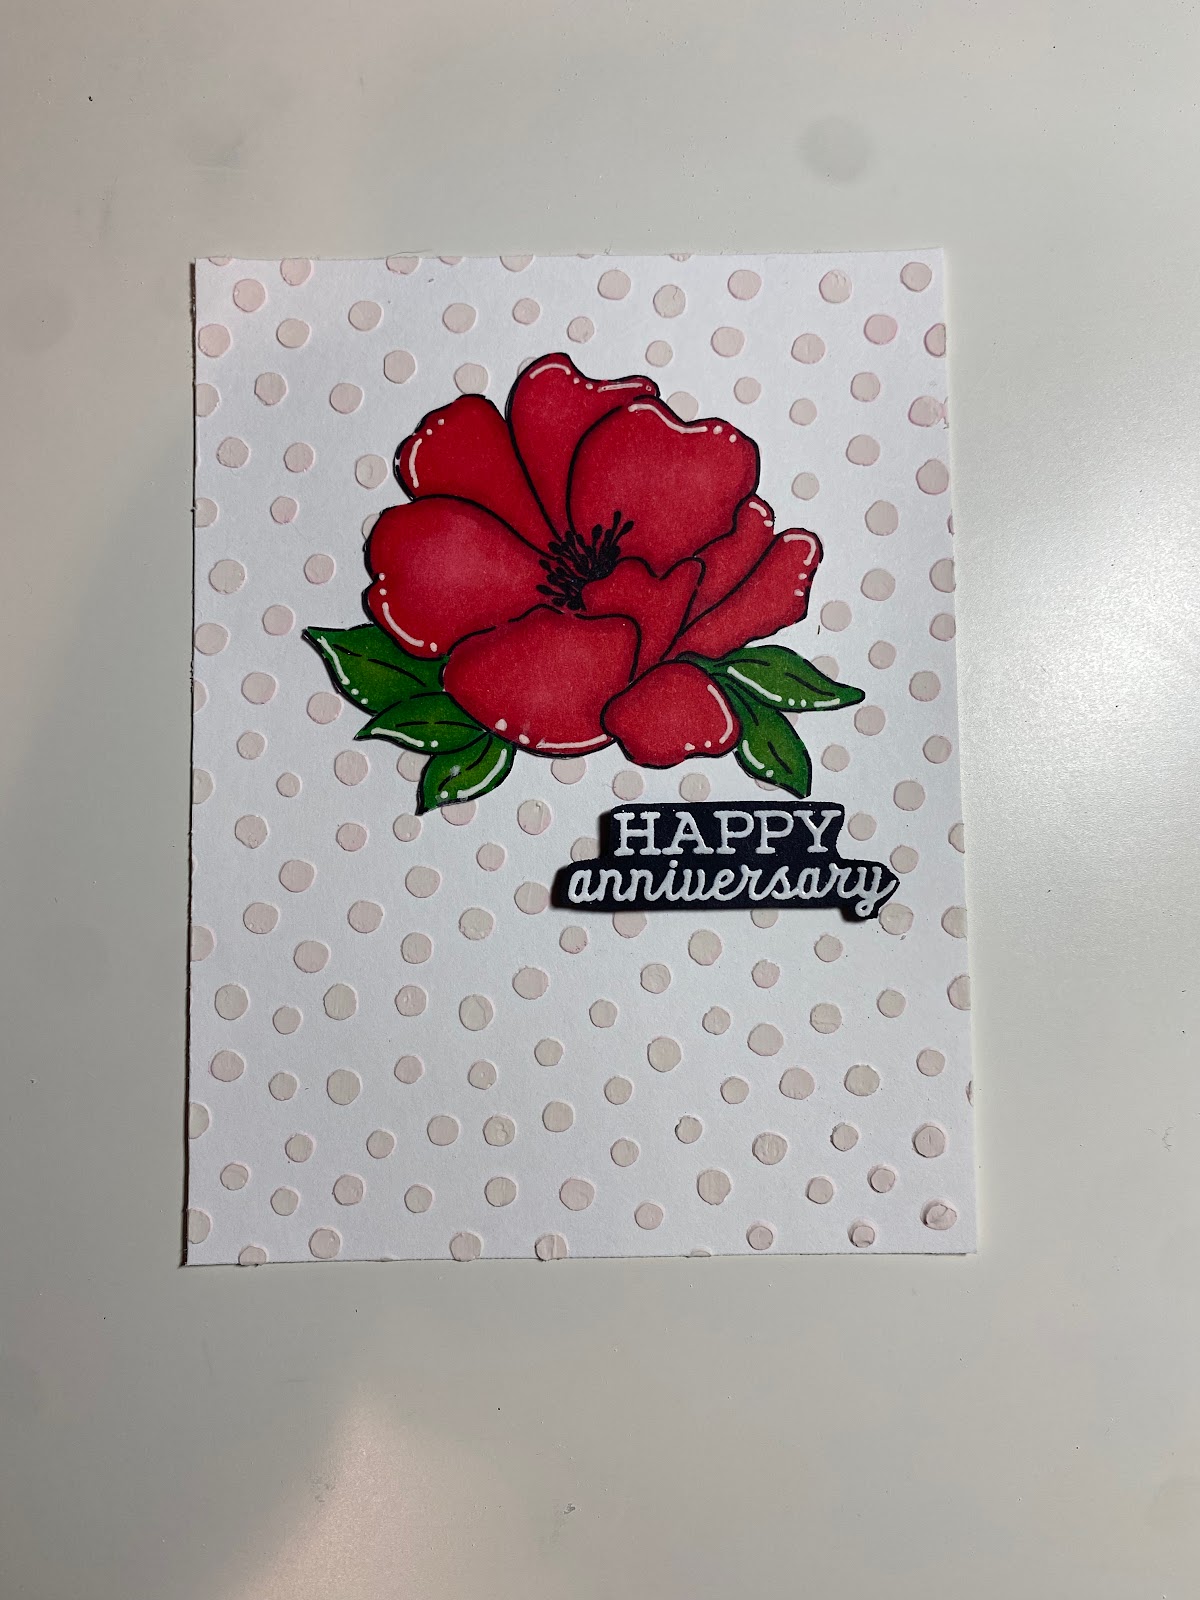
The last thing to do before we glue the background to the card base is to mount it with some black card stock. Once again, this is an optional step but I think it makes the card look more professional and complete. I measure mine to 4 1/8 x 5 3/8.


I really hope that you enjoyed this tutorial and I would love to see your creations! Tag me on Instagram @bdk_creations. Below is the supply list! Happy crafting!
Supply List (None of these links are affiliate links)
Essentials: What I use on every card
- Art Glitter Glue (you may not be able to get this due to temperatures so I also recommend Lawn Fawn's glue)
Extras: What I Used Specifically on This Card
- Coloring medium of your choosing
- Stencil