Hello everyone! First off, I would like to thank everyone for all the kind comments I received about my guest design with Newton's Nook. Doing that guest design was a dream come true and I'm so happy that y'all enjoyed my card as much as I enjoyed the experience. If you didn't see my guest design, click here! This week I'll be sharing two techniques with stencils that you need to try! I'll admit, my results weren't the best, but I know better results are possible! Either way, I would still use these for card backgrounds! You'll find a supply list below of all the supplies I used!
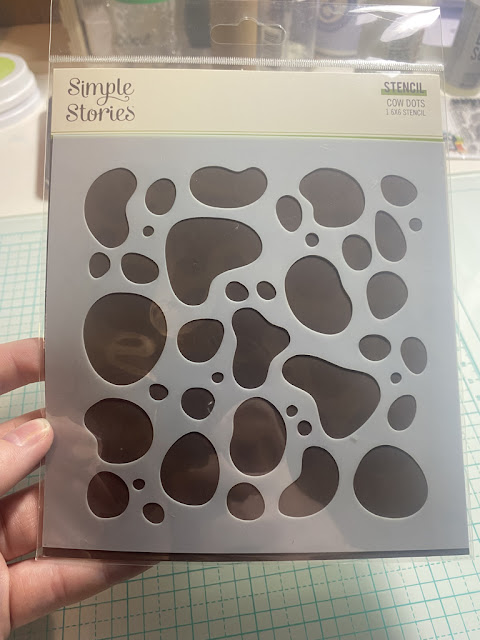
(This is the stencil I'll be using!)
1. Distress Oxide Color Pencils
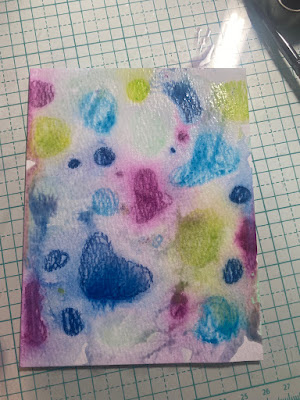
Yes, I know, this looks like a paper crafting massacre took place. However, even though I failed, you don't have too! What I did was applied my Tim Holtz Distress Oxide watercolor pencils through the Cow Dots stencil from Simple Stories. Then I removed the stencil and sprayed water. My problem you may as, not spraying enough water. Too much of the pigment stayed inlace and it was my fault. If you do put enough water and the color properly spreads, I could see a really cool galaxy background!
2. Swinking Through a Stencil
This one (in my opinion) came out much better! If you don't know what "swinking" means, don't worry! It is a word coined by the crafting community (I believe Laurel Beard and Ardyth Percy-Robb used it first, but I don't know which invented it) that means to swipe your ink pad directly onto your paper. In this case, I applied two Catherine Pooler ink pads in the colors Garden Party and Cummerbund!
Thank you for Reading!
Thank you all so much for reading! You guys have no idea how much it means to me to see other people learn from my blog and instagram posts. Once again, I apologize for not having the best results, but I still think these are two great techniques to try, even if I failed. And remember, if you mess up two, don't worry about it! We are all human and all make mistakes, the best thing you can do is learn from them! Once again, thank you so much for reading and as always, happy crafting! If you want to buy any supplies, please go to the links below. None of them are affiliate, however, they are mostly to small/smaller business!
Supply List (None of these links are affiliate links)
Essentials: What I use on every card
Supplies Specific to This Post


