Hi everyone! When making the card for this weeks blog post I had an entirely different idea. However, my stencil shifted and I thought what I could do to save this card. So I changed my plan, grabbed a die cut, and saved the card!

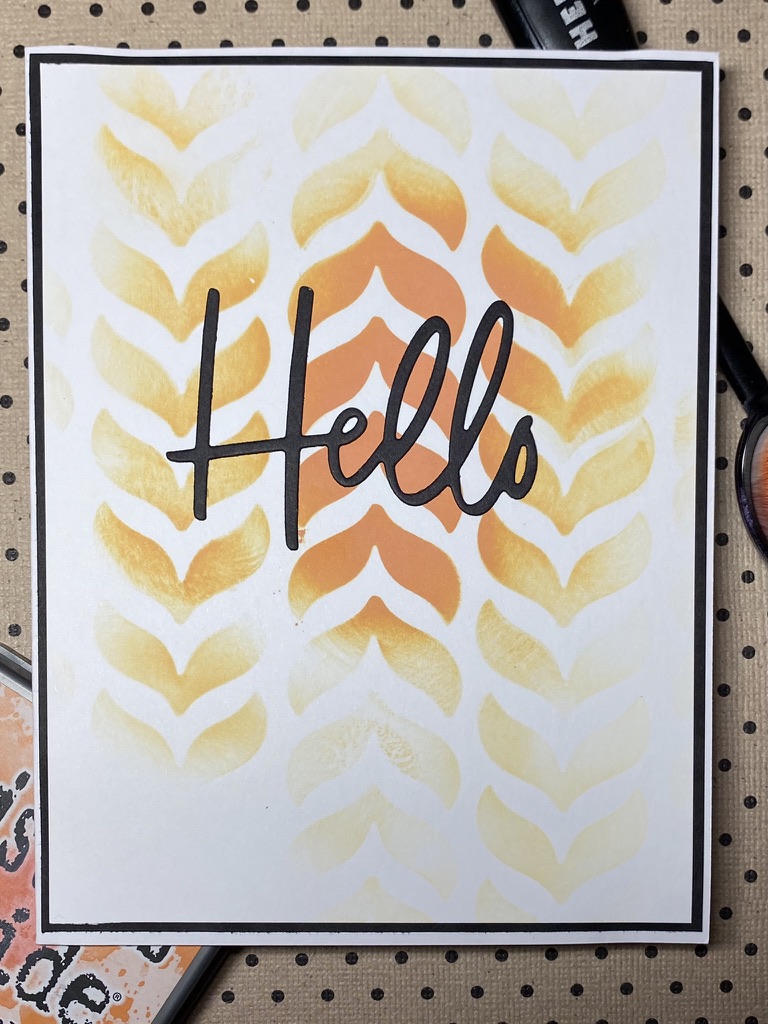
So what I used for the card front was a Tim Holtz distress oxide ink in the color spiced marmalade, Altenew's leaf drop stencil, a Hero Arts blending tool, and some white cardstock. I taped my stencil to my paper with pixie tape, but not enough. My paper shifted and I decided to add a die cut!


I pulled out this hello die cut from pink fresh! This is one of my favorites and I decided to cut it out of some black cardstock. Then just glue it on wherever you like on the card front, I picked the center.


I really hope that you all enjoyed this tutorial. No more wasting card fronts! Below you'll find a supply list! Happy crafting everyone!
Essentials: What I use on every card
- Art Glitter Glue (you may not be able to get this due to temperatures so I also recommend Lawn Fawn's glue)
-Tim Holtz Distress Ink in Black Soot (Technically didn't use this but it is my favorite ink pad!)
No comments:
Post a Comment