Hello everyone! I'm back today with a review of the Catherine Pooler ink pads. I recently picked up a few colors and wanted to share my thoughts about them. Hope you all enjoy!
Saturday, December 31, 2022
Catherine Pooler Ink Pads: Are They Worth It?
Saturday, December 24, 2022
This Card is Floating out of This World
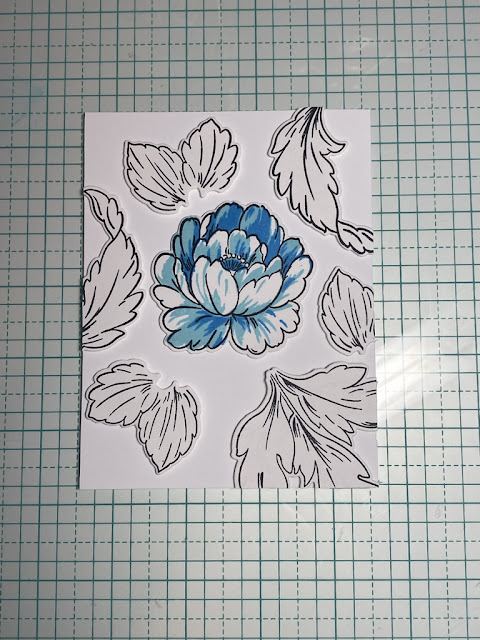
Hello everyone! Today I'm back with a tutorial. I will be using almost all Altenew supplies for this technique! I really like how this card came out and I hope you do too! (Blogger is also letting me make the images a bigger size without the quality decreasing!)
All that's left to do is back the card front with a piece of blue cardstock and then glue that onto the card base! I really enjoy how the different blues work together and how everything looks floating above the card! You could also add a sentiment but I didn't want to use one so this card could be used for any occasion!
Supply List (None of these links are affiliate links)
Essentials: What I use on every card
Extras: What I Used Specifically on This Card
Saturday, December 17, 2022
Must Get Crafting Items for 2023
Hello everyone, Brennan here! This week I have a list of my favorite crafting items and tools that you must get for 2023. Ok, while you don't need all of them, all of these would be great additions to your craft room!
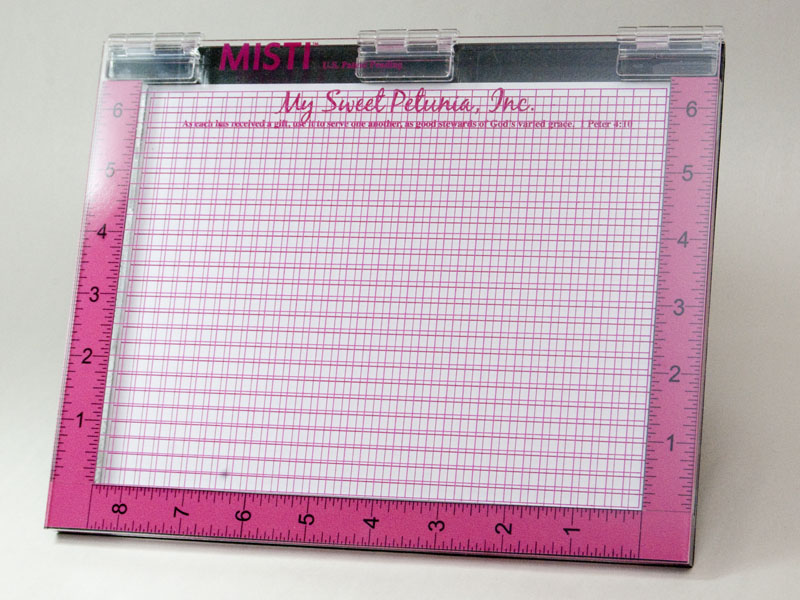
1. A Misti Stamp Positioner Tool
There are only good things to say for the Misti! It is extremely high quality and the magnet is extremely strong so your paper will stay in place. They come in multiple sizes, all the way up to 12x12. I personally use the one with a stamping area of 6.5x8.5 inches!
2. Distress Oxide Ink Pads
Tim Holtz did it again when he released these ink pads. While they have been around for a long time, they have never gone out of style. They are amazing for ink blending and give off a chalky look. They are a hybrid ink which means they have both pigments and dye.
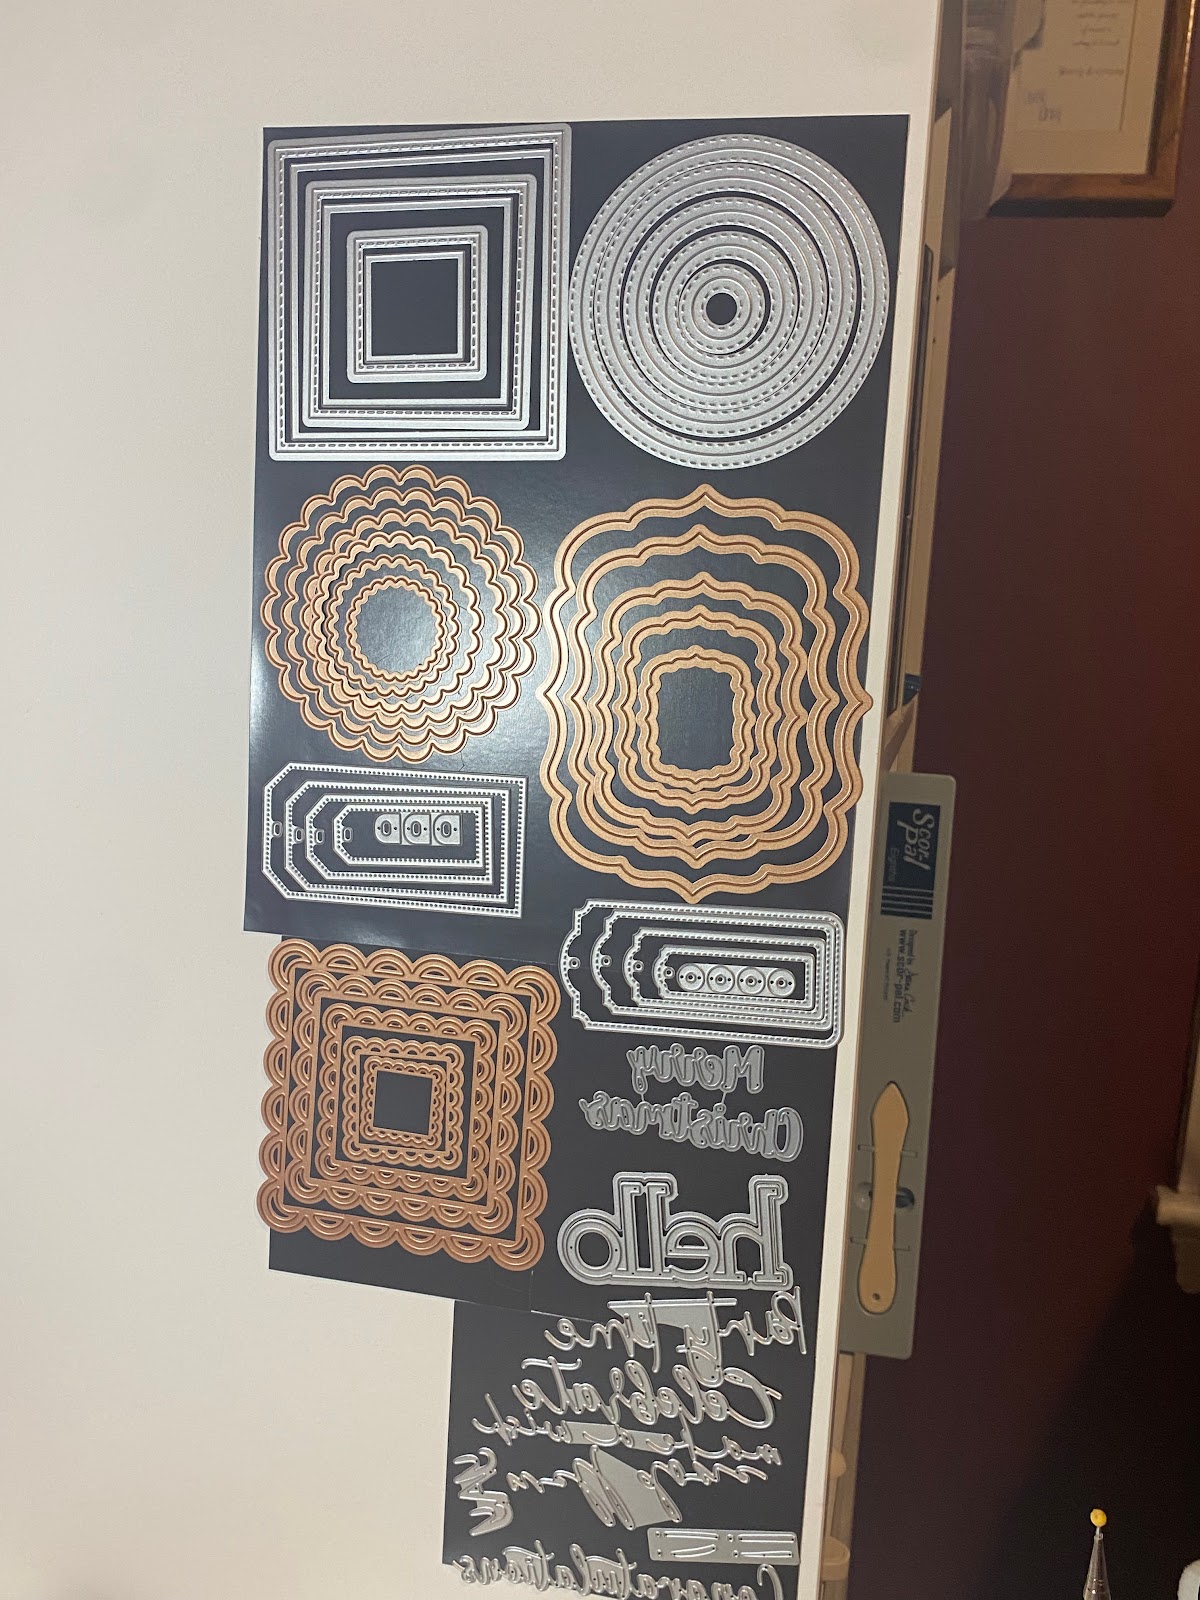
3. Any Die-Cuts From Waffle Flower
Supply List:
Saturday, December 10, 2022
Two of my Favorite Crafting Storage Ideas
Hi everyone! This week I thought I would change things up and make a post about storage. As crafters, most of us buy more craft supplies than our room can fit! In this post, I'm going to try to help you solve that problem!
This first craft storage item that I love is a rolling cart. I personally store some pastes, alcohol markers, and stamps! When you're at your desk you can pull it up right next to you. This means you don't even have to get up to grab a different stamp set or some Nuvo paste! My cart also has some extra like a ribbon holder and a peg board. I'll link mine below! A person who does planning could store their stickers or a scrapbooker could store all their ephemera, the possibilities are endless!
I also really like using magnet sheets for die-cut storage. They allow you to use space that typically wouldn't be usable! This is a great option for people who have smaller craft rooms or who have run out of space in general. I use printable magnet sheets, they weren't too expensive and work well!
I hope that everyone enjoyed this post. While it isn't a tutorial, I still think it can be extremely helpful! I hope that everyone has a great day! Happy crafting, or should I say happy organizing!
Items in This Post (None of these are affiliates)
Saturday, December 3, 2022
Elevating Cards with Perfect Pearls
Hello everyone! I'm so happy to be here again today to share another amazing technique. I recently picked up some perfect pearls and I want to show you how you can step your cad up with them. We're also going to use a little ink blending and stamping too!
Ignore my messy mat for starters. But the messier the mat, the more well-loved! First I'm taking a card front (4 x 5 1/4 inches) and adding an inch of tape on each side. This is where we'll be doing the ink blending.
I will be using Tim Holtz's Distress Oxides in the colors Faded Jeans and Uncharted Mariner. As you can see, my ink blending didn't come out the best but that's ok! The perfect pearls will save my ink blending and make the card look even better!
I will be using this fluffy paintbrush and some perfect pearls in the color perfect pearl. Dip the brush into the pearls and apply to the paper liberally. You can blow off any excess, we just want to ensure that the inked portion of the card front is fully covered!
This is something like how yours should look! It looks pearlfect (see what I did there) Next we're going to stamp the flower I'm using on this card! I'm using this lilac from Technique Tuesday, but unfortunately, they have recently decided to close down. I will link another one of my favorite florals below instead of this one. Apologies for that.
I will be using copic markers G07 and V17 for this card. However, I'm not shading so truly any coloring medium would work! Once you color in your flower, die-cut it out. I do have a coordinating die for this flower but fussy cutting would work too!
Then you should glue the flower onto the card front at this point! If you want to, you can add a sentiment too! I will be adding get well soon to my card.
Once you do that, decide if you're going to add a border or not, I went with a black one. All you have to do is glue the card front to the card base and you're done! I hope y'all enjoyed this tutorial! If you want to buy anything I used, almost all the supplies are linked below! I really like how using the perfect pearls came out, it gives the card such a great shine. Happy crafting everyone!


